
Required
Windows 10 or 11
64-bit PC. This is the production desk. Program output goes to the projector. The panel stays on the operator screen.
- File: PlumuxStudio-1.1-Setup.exe
- Free plan is included after install
- No account required to open the app
v1.1
Windows runs the show: graphics, audio, record, and live destinations. The Android app is optional. Use it when you want another camera or talkback from the floor.
Required
64-bit PC. This is the production desk. Program output goes to the projector. The panel stays on the operator screen.
Optional
Sideload the APK. Same Wi-Fi as the PC. Prefer 5 GHz in a packed hall. iPhone is not in v1.1.
1
If the zip is used, extract it first, then open the exe.
2
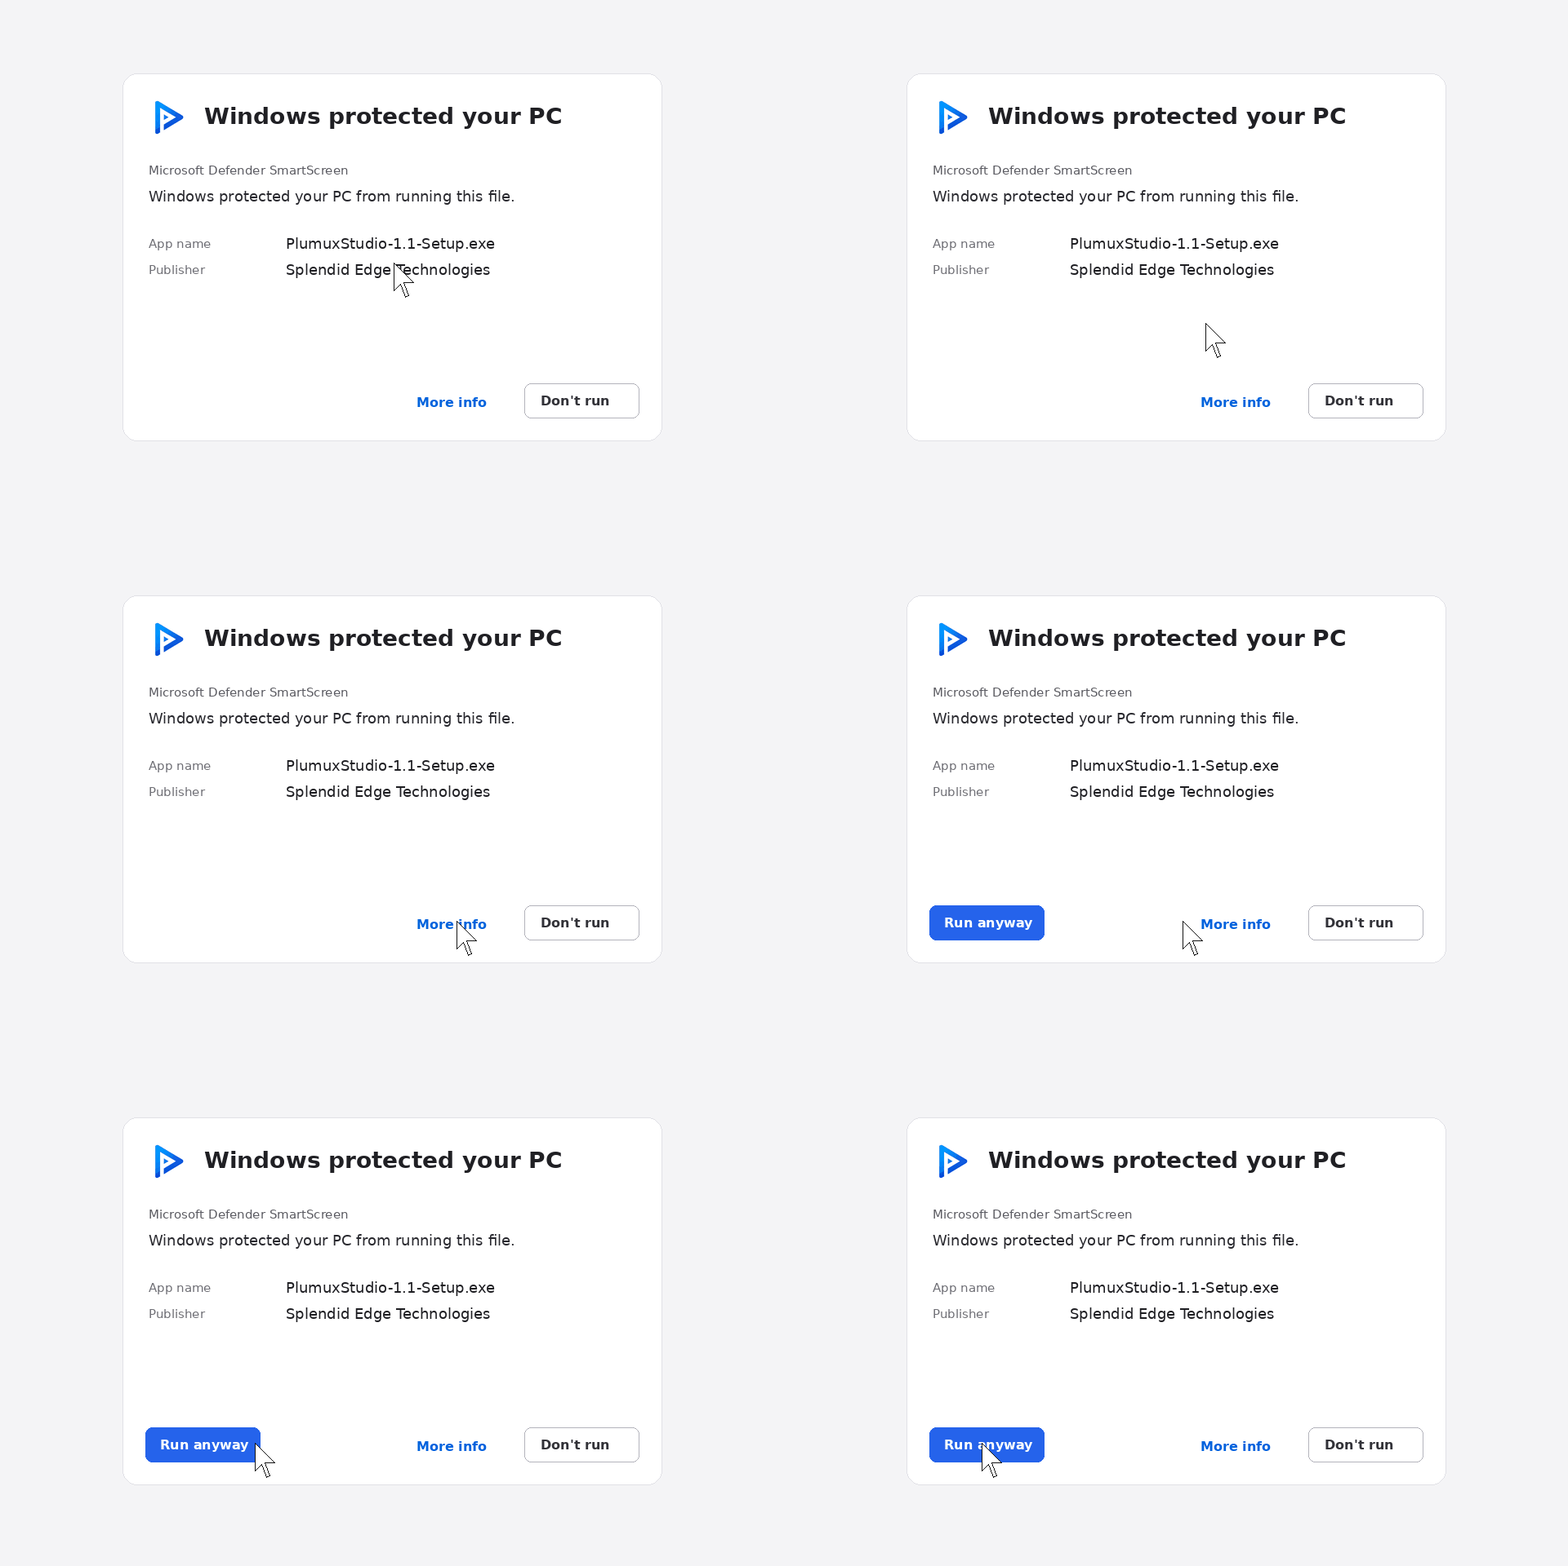
Click More info, then Run anyway. That is a normal first-run screen. Steps and a clip are below.
3
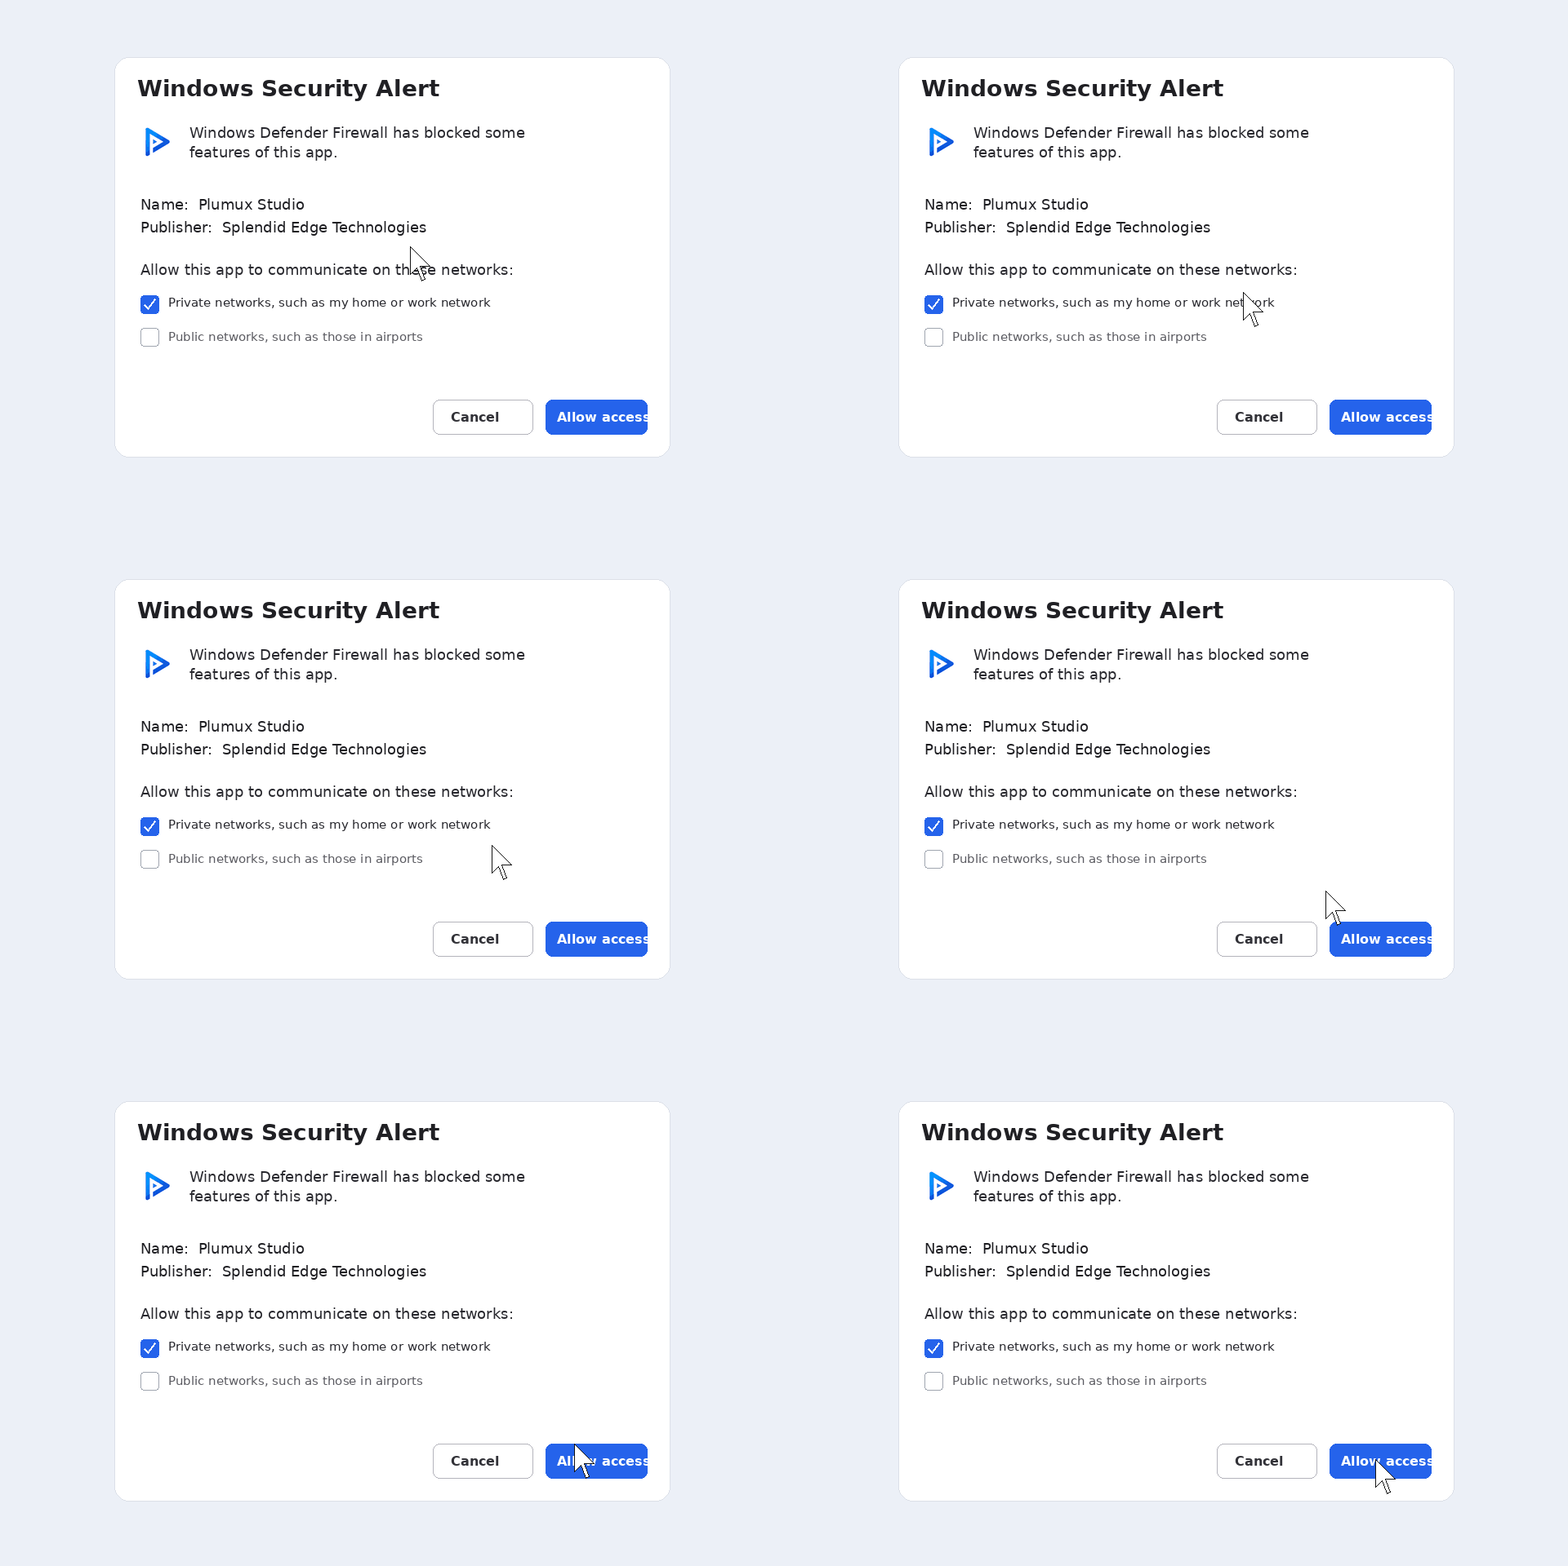
If Windows asks, tick Private networks and Allow access. That lets phones on the same Wi-Fi reach the desk.
4
Put Program on the projector or TV. Keep Panel on the laptop you are driving.
Two prompts show up on a lot of PCs the first time. Follow the clicks. Then the desk opens. No extra video file needed.
SmartScreen
Step 1
Windows protected your PC
Microsoft Defender SmartScreen
then
Step 2
More info is open
App: Plumux Studio
Firewall
Windows Security
Allow Plumux Studio to communicate on these networks
1
Chrome or Files may ask to allow installs from that source. Turn it on for this one APK.
2
Guest networks that isolate devices will fail. Use the hall network, 5 GHz if you have it.
3
Needed for the angle and for talkback.
4
Open the app and join the Plumux session running on the PC.
No. Graphics, lyrics, timers, USB cameras, record, and destinations all run from Windows.
Windows often asks on a first install. More info, then Run anyway. Same idea for the firewall prompt: Allow on private networks so phones can reach the desk.
Not in v1.1.
The free plan. Paid 30-day upgrades sit on the pricing page.
Add the Android app only if the room needs another angle.